The capture button ![]() located in the lower right corner of the image viewport allows creating various types of captures:
located in the lower right corner of the image viewport allows creating various types of captures:
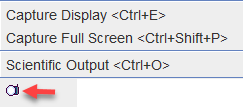
Capture Display (Ctrl+E)
The capture output is defined in the dialog window that appears.
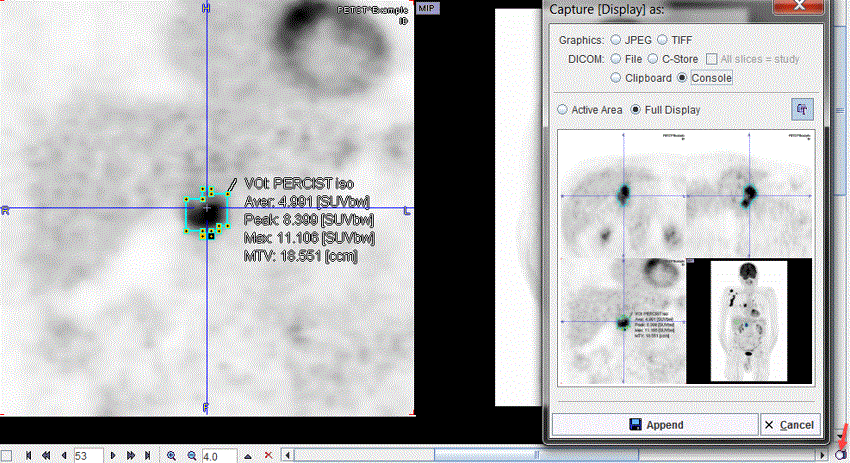
Active area only captures the content of the selected quadrant, whereas Full Display captures the whole image area, including MIP.
The output format is selected in the upper part: either a DICOM secondary capture image can be saved or directly sent to a PACS system (C-Store), or a graphic image file format can be specified for saving.
Note the Console output, which sends the capture to an image buffer in the console. When opening the console later on, the captured images can be inspected and the relevant ones saved.
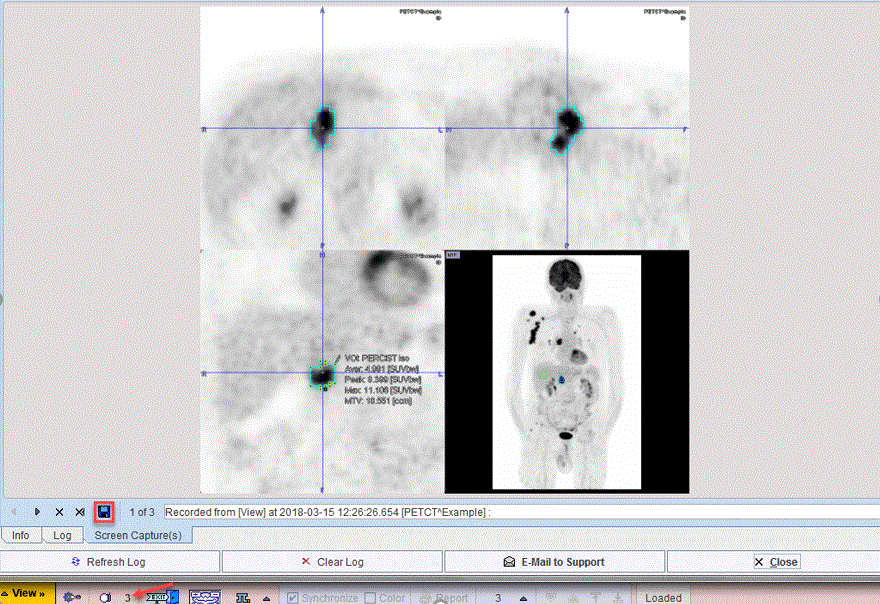
Capture Full Screen (Ctrl+Shift+P)
This options creates a capture of the entire screen (not only the PMOD window):
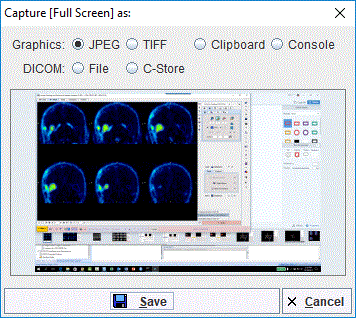
which can be saved as JPEG, TIFF or copied to Clipboard. The Console option automatically appends the capture to the buffer for problem reporting.
The DICOM output supports two options:
1.with the File the DICOM SC images are saved to disk
2.with the C-Store option supports direct network transfer to a DICOM server.
Scientific Output (Ctrl+O)
This option creates scientific captures of predefined sizes:
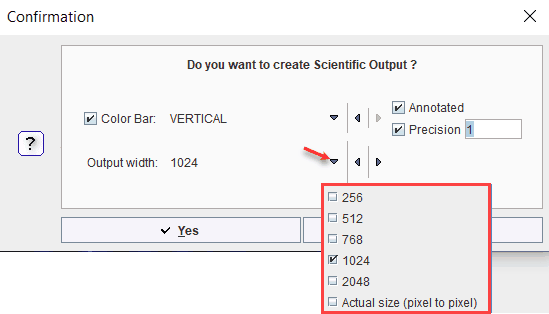
The Output width defines the capture size. The Actual size option allows obtaining exactly the same appearance in the capture like in the viewport. Optionally, Annotated Color Bar can be added to the capture enabling the dedicated check boxes. The annotation Precision can be specified in the dedicated text field. Two options are available for the color bar position: VERTICAL and HORIZONTAL. The color bar annotations correspond to the lower and upper threshold set for the image display while the units are read from the image header.
The Yes button opens a Scientific output settings window as illustrated below:
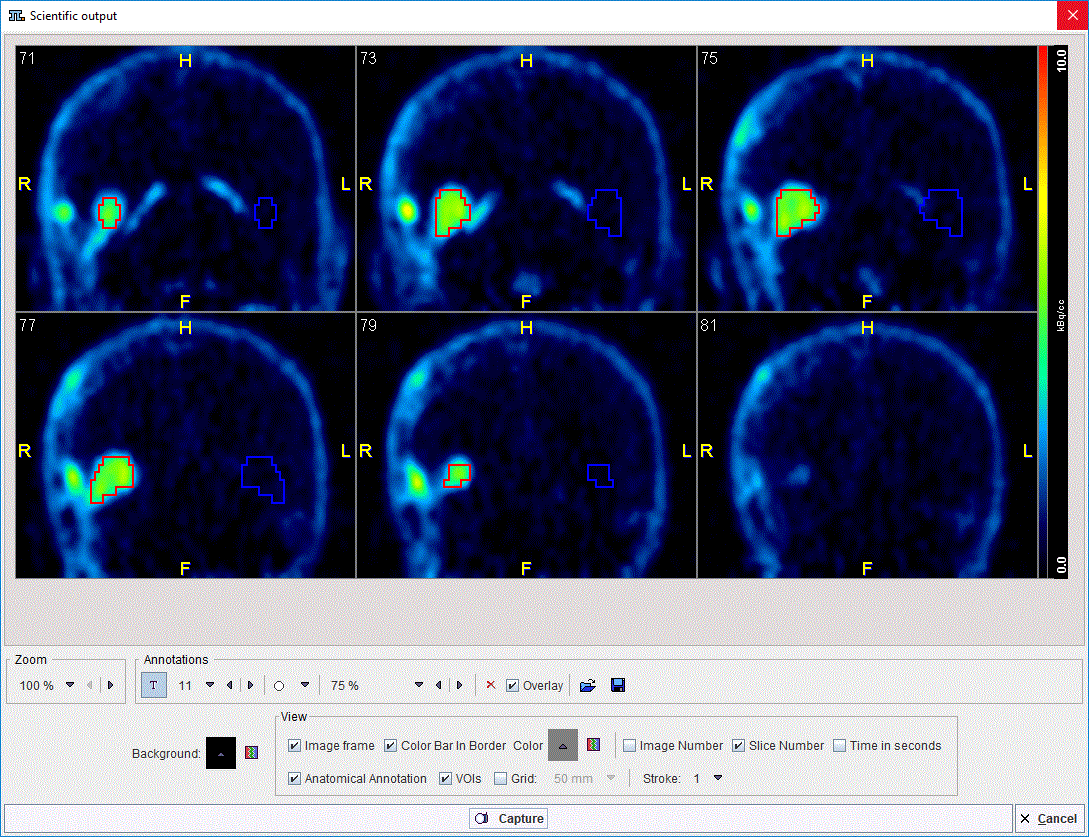
It allows adding the Image frame, Slice Number, Anatomical Annotation, Grid of predefined size, etc. Optionally, VOIs (if available) can be overlaid on the image. The Capture button allows saving the capture as JPEG, TIFF or to the Clipboard:
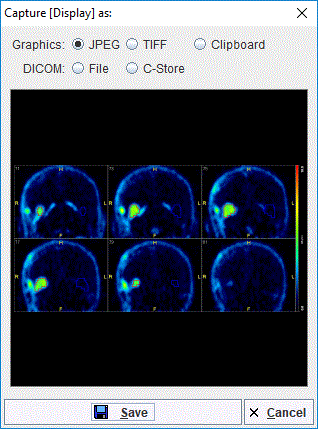
The DICOM output supports two options:
1.with the File the DICOM SC images are saved to disk.
2.with the C-Store option supports direct network transfer to a DICOM server.
The Save button starts the final saving procedure.